
Introduction
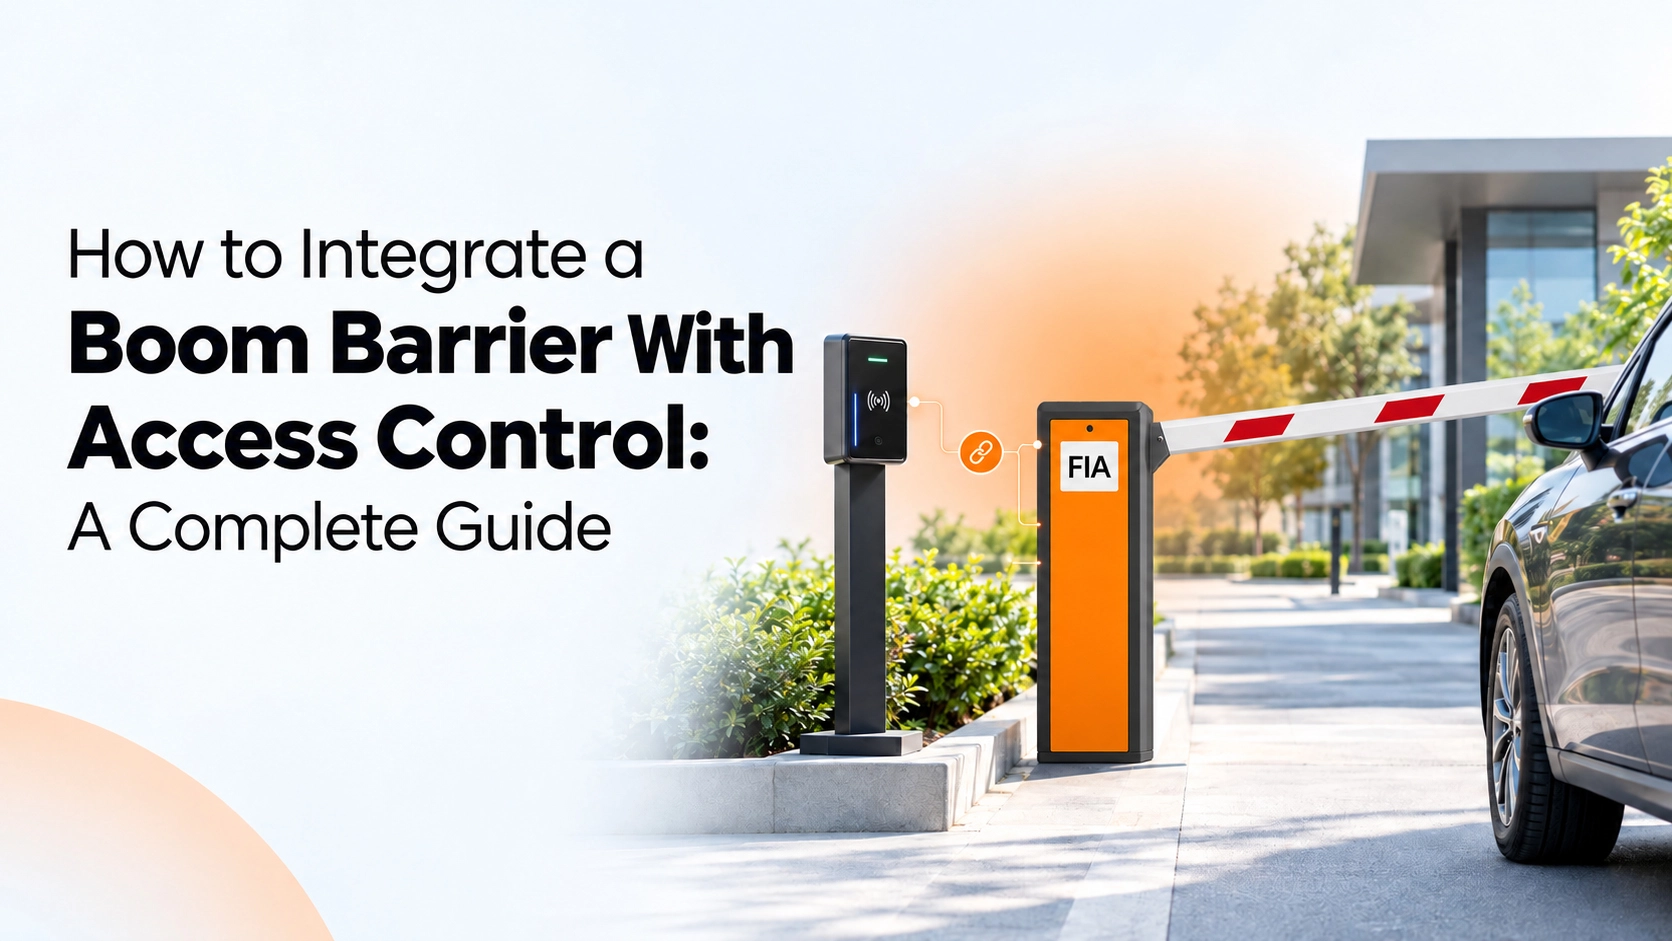
Every gated facility eventually faces the same question: how do you let authorized vehicles in automatically, without a guard lifting a barrier by hand all day? The answer is integrating a boom barrier with an access control system — a setup that reads a credential (card, tag, number plate, or mobile app) and triggers the barrier to open only for approved vehicles.
This sounds simple in theory, but in practice, most installation failures come down to a handful of overlooked details: wrong relay wiring, mismatched voltage, ignoring loop detectors, or skipping fail-safe planning. This guide walks through the entire integration process — from planning to wiring to testing — so facility managers, security integrators, and building owners can get it right the first time.
What Is a Boom Barrier and Why Pair It With Access Control?
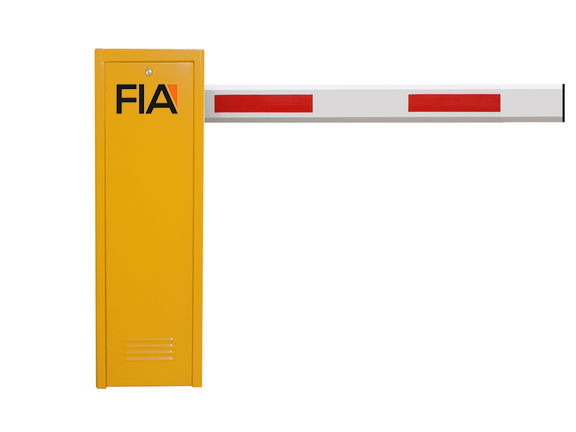
A boom barrier (also called a boom gate or arm barrier) is a mechanical arm that raises and lowers to control vehicle entry at a single lane. On its own, a boom barrier is just a physical gate — someone still has to press a button, swipe a card at a standalone reader, or use a remote to operate it.
Pairing it with an access control system upgrades the barrier from a manual gate into an automated, auditable entry point. Instead of a guard deciding who passes, the system checks a credential against a database and only signals the barrier motor to open when the credential is valid. This gives facilities:
- Automatic entry/exit for registered vehicles without staff intervention
- Time-based restrictions — for example, allowing delivery trucks only between 9 AM and 6 PM
- Complete entry/exit logs for audits, attendance, or investigations
- Reduced manpower cost at parking lots, factories, warehouses, and residential gated communities
- Tighter security, since access can be revoked instantly if a card is lost or an employee exits
Core Components You’ll Need
Before wiring anything, it helps to understand the pieces that make up the integration:
- Boom barrier unit — the motorized arm with a control board (typically 12V, 24V, or 220V depending on the model)
- Access control reader — RFID card reader, biometric device, ANPR (Automatic Number Plate Recognition) camera, or a mobile-based Bluetooth/QR reader
- Access control panel/controller — the “brain” that validates credentials and decides whether to grant access
- Relay module — converts the controller’s low-voltage signal into a dry contact that can trigger the barrier’s control board
- Loop detector (safety loop) — a wire embedded in the road that detects a vehicle under the barrier arm and prevents it from closing on the car
- Power supply and backup battery — to keep the system running during outages
- Software/backend — for managing users, viewing logs, and setting schedules
Step-by-Step Integration Process
Step 1: Assess the Site and Choose Compatible Hardware
Not every reader works with every barrier out of the box. Before purchasing, confirm:
- The barrier’s control board supports an external trigger input (most modern boom barriers do — usually labeled “open,” “NO/NC contact,” or “remote input” on the terminal block)
- The access controller can output a relay signal or Wiegand/RS-485 output compatible with that input
- Voltage and current ratings match, so you don’t damage the control board
For high-traffic entries, ANPR cameras paired with a barrier are increasingly popular since vehicles don’t need to stop for a card swipe. For staff or resident parking, RFID cards or long-range vehicle tags tend to be more cost-effective.
Step 2: Plan the Wiring Layout
The typical signal path looks like this:
Credential presented → Reader sends data to controller → Controller validates against database → Controller/relay sends a momentary “open” signal to the barrier’s control board → Barrier motor lifts the arm
Most integrations use a dry contact relay (Normally Open, momentary closure of 0.5–1 second) wired into the barrier’s external input terminals. This is the safest and most universal method because it electrically isolates the access control panel from the barrier’s motor circuit, protecting both systems from voltage spikes.
Step 3: Install and Wire the Safety Loop Detectors
This step is non-negotiable for vehicle safety. At least one ground loop should be placed directly under the barrier arm to detect a stationary or moving vehicle and hold the arm up until the car clears the loop. A second loop before the barrier can be used to trigger a “vehicle present” signal for the access controller. Skipping loop detectors is one of the most common — and most dangerous — shortcuts in barrier installations.
Step 4: Connect the Controller Output to the Barrier Input
- Locate the barrier’s control board terminal block (refer to the manufacturer’s manual — terminals are usually labeled OPEN, COM, or REMOTE).
- Connect the relay’s NO (Normally Open) and COM terminals to these input terminals.
- Set the relay’s pulse duration in the access control software (typically 1–3 seconds is enough for a momentary trigger).
- Avoid connecting the access panel’s output directly to the barrier’s motor wires — always go through a relay-isolated input.
Step 5: Configure the Access Control Software
Once wired, configure the software side:
- Add users, vehicle numbers, or card IDs into the database
- Assign access schedules (24/7, business hours, or specific days)
- Set the door/barrier as a defined “access point” mapped to the relay output
- Enable logging so every entry and exit event is timestamped and stored
- If using ANPR, configure a whitelist/blacklist of number plates
Step 6: Test in Stages
Never test everything at once. Test in this order:
- Reader test — confirm the reader recognizes valid and invalid credentials correctly
- Relay test — manually trigger the relay output and confirm the barrier responds
- Loop detector test — drive a vehicle under the arm and confirm it doesn’t close
- Full cycle test — present a valid credential, confirm the barrier opens, the vehicle passes, the loop clears, and the barrier closes automatically
- Failure test — simulate a power cut and confirm the barrier defaults to a safe state (open or manually operable, per your fail-safe policy)
Fail-Safe and Backup Power Planning
A boom barrier connected to access control still needs a manual override plan. Decide in advance:
- Should the barrier fail open (stay lifted) or fail closed during a power outage? Fire and emergency exit routes typically require fail-open behavior.
- Install a UPS or battery backup so the barrier and controller stay operational for short outages.
- Keep a manual crank/release lever accessible to security staff for emergencies.
Common Mistakes to Avoid
- Skipping the relay isolation and wiring the controller directly into the barrier’s motor circuit, which can damage the control board
- Ignoring loop detectors, creating a serious safety hazard for vehicles and pedestrians
- Mismatched voltage between the access panel’s output and the barrier’s input terminals
- No backup power plan, leaving the gate stuck during outages
- Overlooking local fire and safety codes, which often dictate fail-open behavior for emergency routes
- Not testing incrementally, which makes it hard to isolate the source of a fault later
Choosing the Right System for Your Facility
| Facility Type | Recommended Setup |
|---|---|
| Residential gated community | RFID card/tag + boom barrier |
| Corporate office parking | Biometric or mobile app + barrier |
| Toll plazas / high traffic | ANPR camera + barrier |
| Warehouses / logistics yards | Long-range vehicle tag + barrier |
| Government/high-security sites | Multi-factor (card + PIN or biometric) + barrier |
Frequently Asked Questions
Can any boom barrier be connected to any access control system? Not always. Compatibility depends on whether the barrier’s control board accepts an external trigger input and whether the access controller can output a matching relay signal. Always check manufacturer specifications before purchase.
What happens if there’s a power failure? This depends on how the system is configured. Most facilities choose a fail-safe (open) configuration for emergency exits and a fail-secure (closed) configuration for high-security entries, backed by a UPS for short outages.
Do I need loop detectors if I already have access control? Yes. Access control decides who gets in; loop detectors protect vehicles and people from the barrier arm physically closing on them. They serve different, equally important purposes.
Is ANPR better than RFID cards for boom barriers? Neither is universally “better” — ANPR is convenient for high-traffic entries since drivers don’t need to stop, while RFID cards are generally more affordable and reliable in poor weather or lighting conditions.
Conclusion
Integrating a boom barrier with an access control system turns a simple mechanical gate into a smart, automated, and auditable entry point. The process comes down to choosing compatible hardware, wiring through an isolated relay, never skipping safety loops, and testing each stage before going live. Done correctly, this integration reduces manpower costs, improves security, and gives facility managers a complete record of every vehicle movement — all while keeping the entry point safe for drivers and pedestrians alike.
If you’re planning this integration for your facility, working with an experienced systems integrator ensures the hardware, wiring, and safety compliance are handled correctly from day one.



 X-Ray Baggage Scanner 5030
  Spike Barrier 400M
  HHMD 200